In preparation for building the RV-10, I ordered every single kit that Van’s Aircraft sells, one from EAA, and one from Cleaveland Tools. I decided to build all of them before starting the actual airplane kit to further develop fundamental skills in advance of touching the aircraft parts.
They are listed below in the order in which I built them, followed by a little blurb / review of my experiences:
EAA Sheet Metal Kit
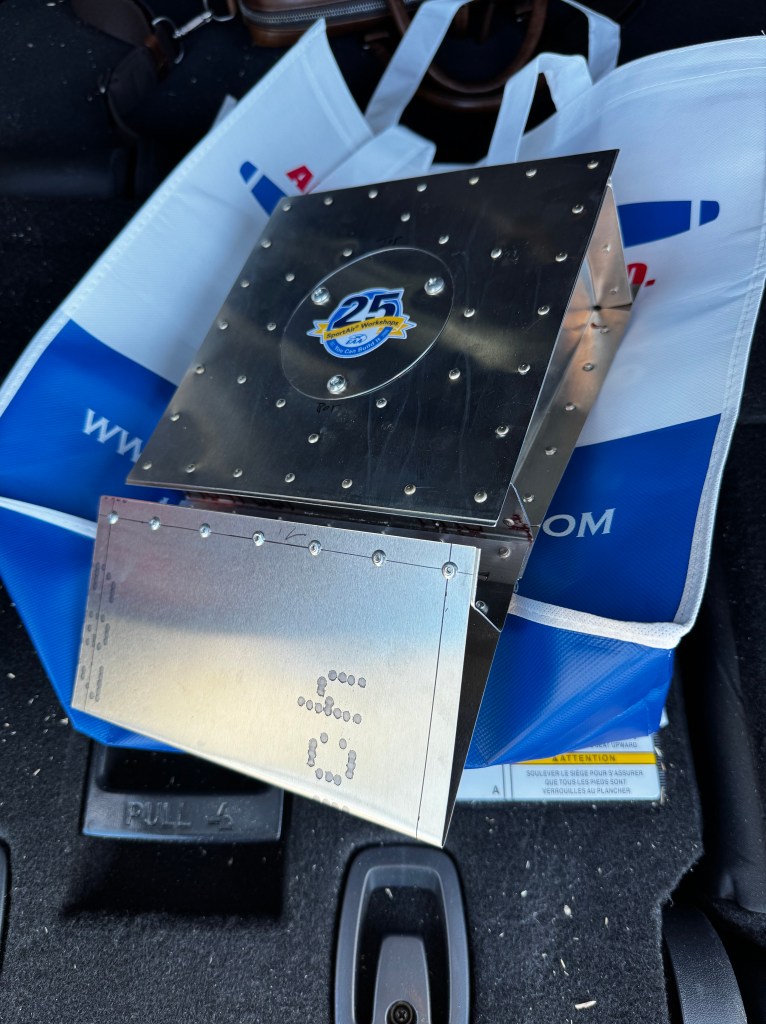
I actually built two of these.
First, I did EAA’s sheet metal class, which I highly recommend. Second, I bought one and built it in the hangar with my dad. It took ~8 hours but it’s relatively straightforward.
Good basic intro to different types of riveting in particular. There are two main downsides- 1) the parts aren’t built to the tightest of tolerances, and 2) it teaches some skills that are a bit too “old fashioned” to be useful in modern kits (e.g. forming a rib with a rubber mallet around a pair of wood blocks).
Cleaveland Cell Phone Stand
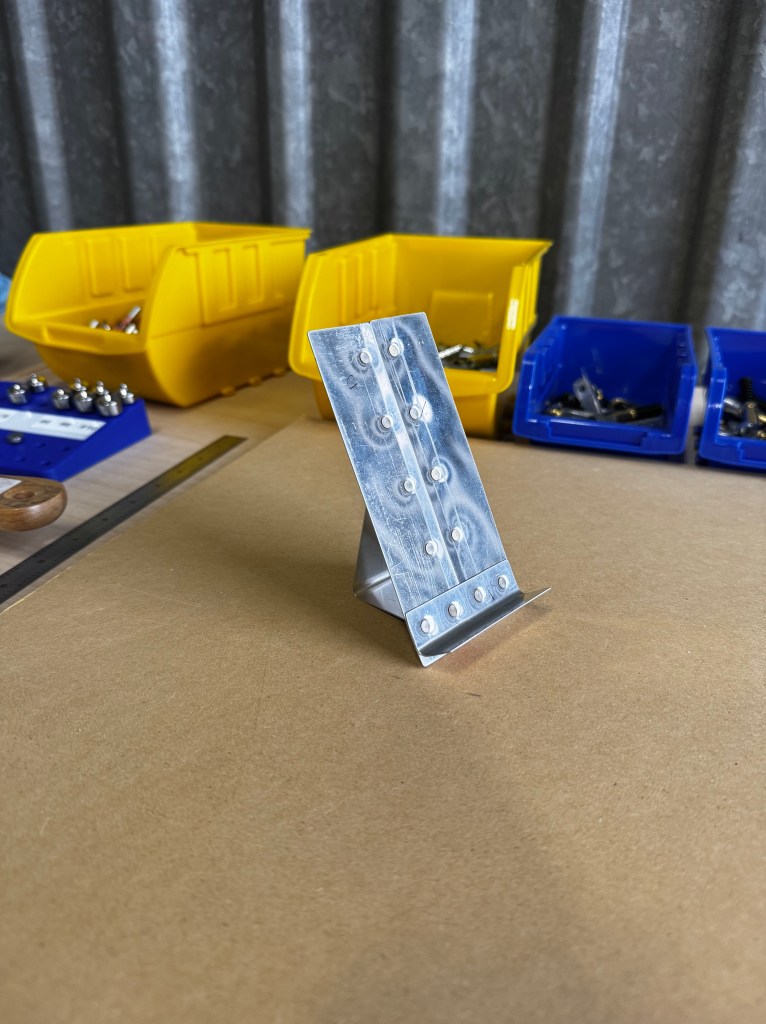
This one was short and sweet. It took <2 hours. Clear instructions, very simple, and creates a little stand that I’ve been using in the hangar ever since. Arguably, it’s actually a bit too simple and I could imagine some prospective builders developing a false sense of confidence if they build only this then move straight to the empennage.
Van’s Basic Sheet Metal Kit
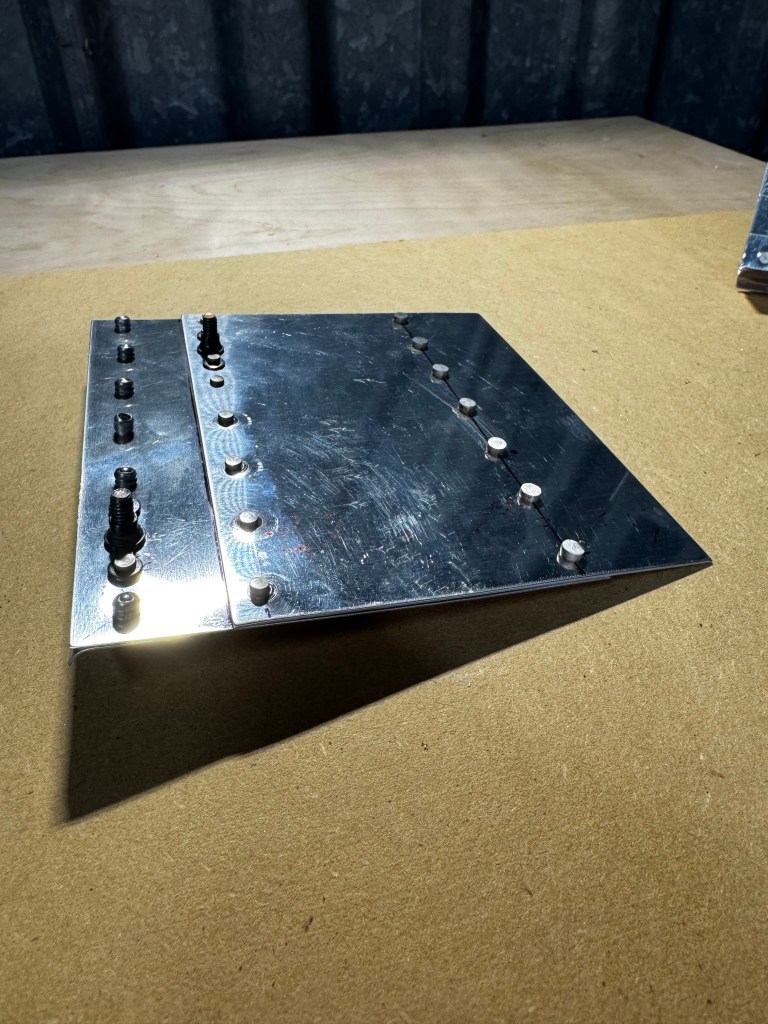
I built two of these too. They are another very simple kit that go together quickly. In my case, I misread an instruction and built the first one incorrectly. I was annoyed at myself and decided to build a second one (originally purchased for my wife, who didn’t mind not building it), which I also didn’t fully build to plans, but this time it was intentional. I was later surprised to see that one of these came with the RV-10 empennage kit, so now I have an extra to replace the second one I built!
Overall, it’s a nice intro that is slightly more difficult (and therefore a better learning experience) than the Cleaveland kit but still much more basic than the EAA kit.
Van’s Project-1
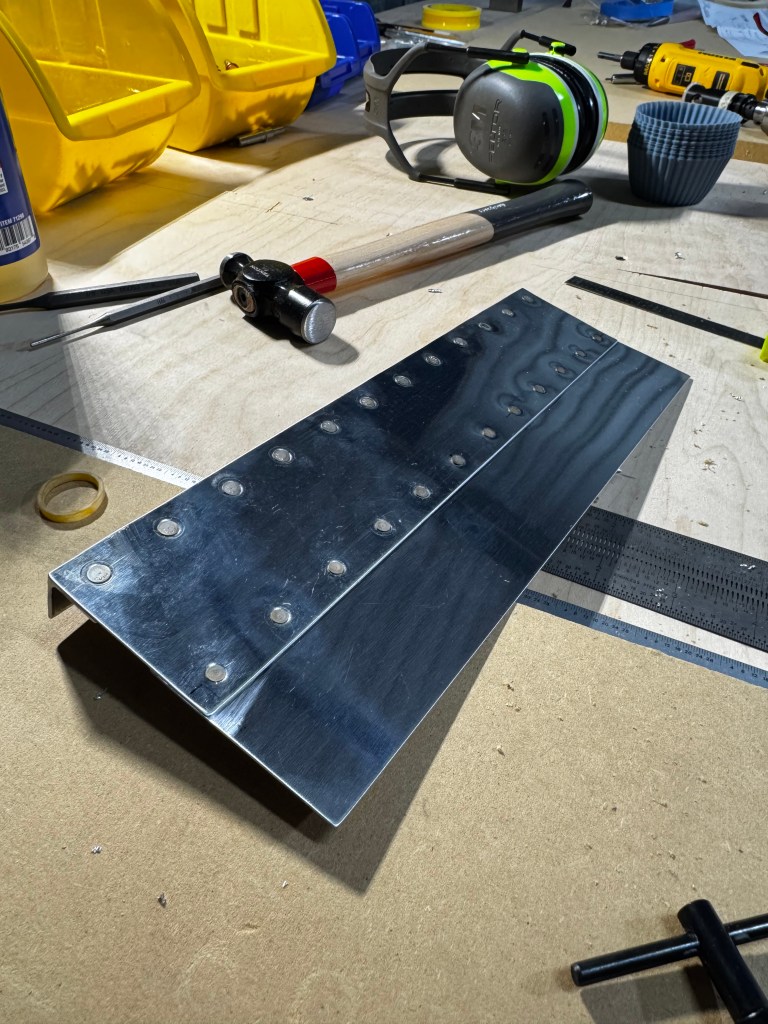
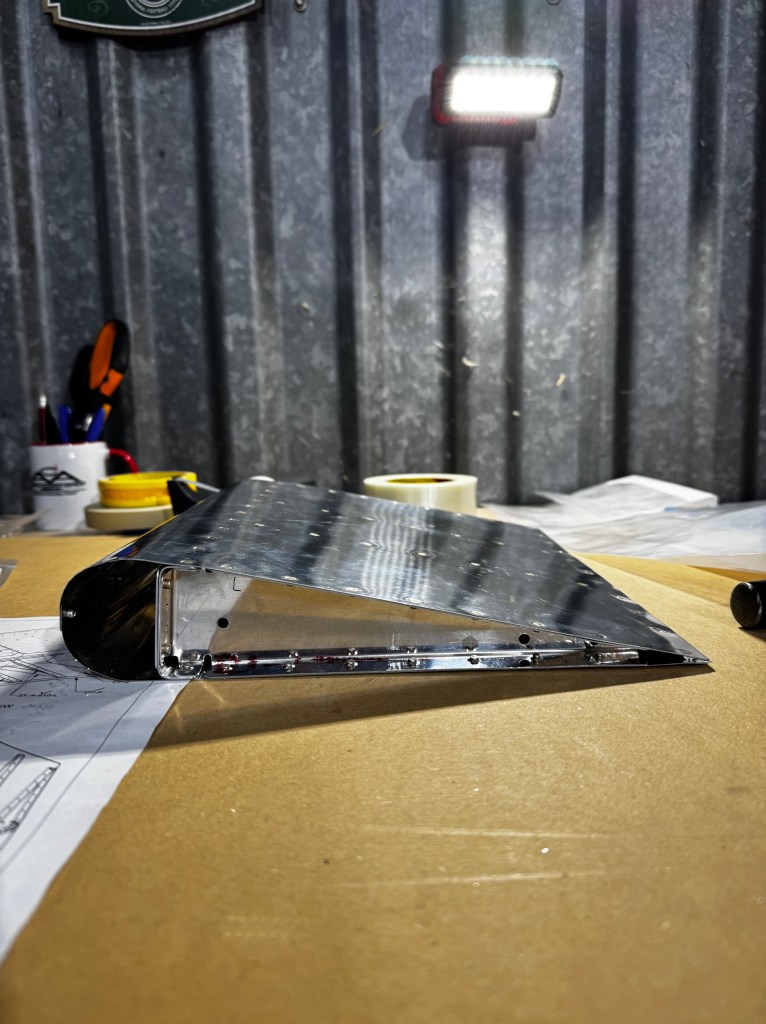
It turns out that this was actually a two part project. The first of these was very simple and quite similar to the basic sheet metal kit. The second was similar to the EAA practice project, but more complicated because it includes the leading and trailing edges.
Rolling the leading edges was frankly very frustrating at first, in part because I did not have the right supplies (tape that was too weak + a tube with too large of a diameter). The trailing edge is notoriously challenging in RV builds, but it actually went smoother than I expected. This project is very representative of the real-life build and therefore I’d highly recommend it for any RV builder.
If I had to recommend a single kit, it would be this one.
Van’s Toolbox
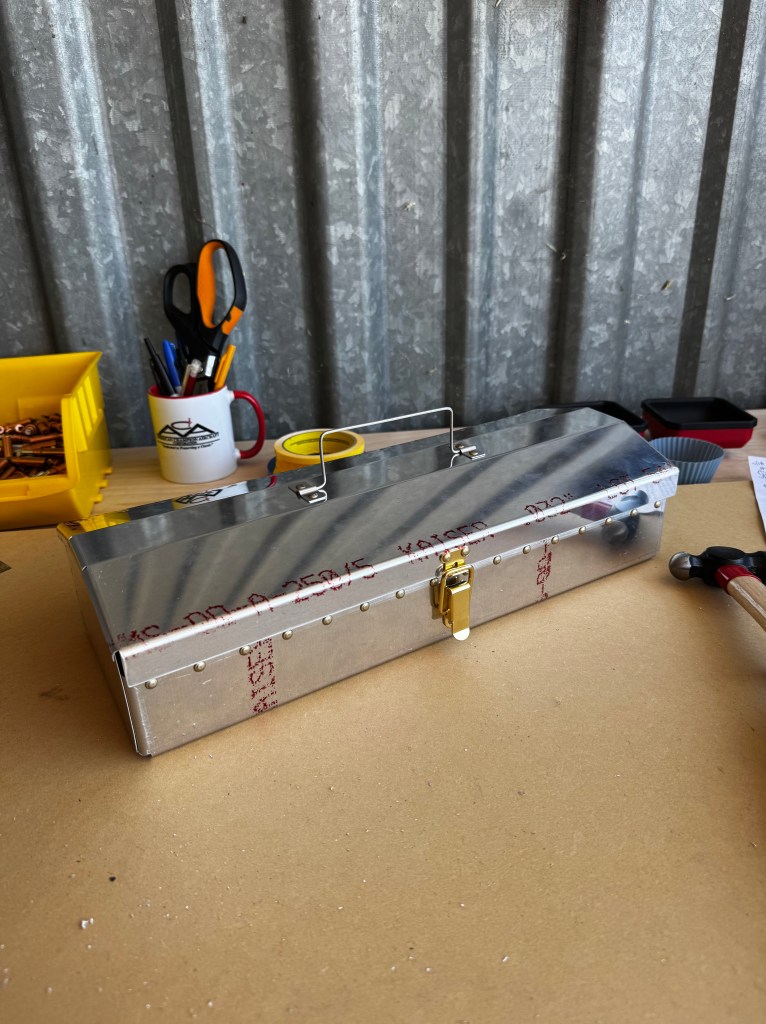
I was pleasantly surprised that this kit was easier than the preceding kit. Also, I managed to use a squeezer on all rivets except those on the handle! Overall, it’s very straightforward and good additional practice.
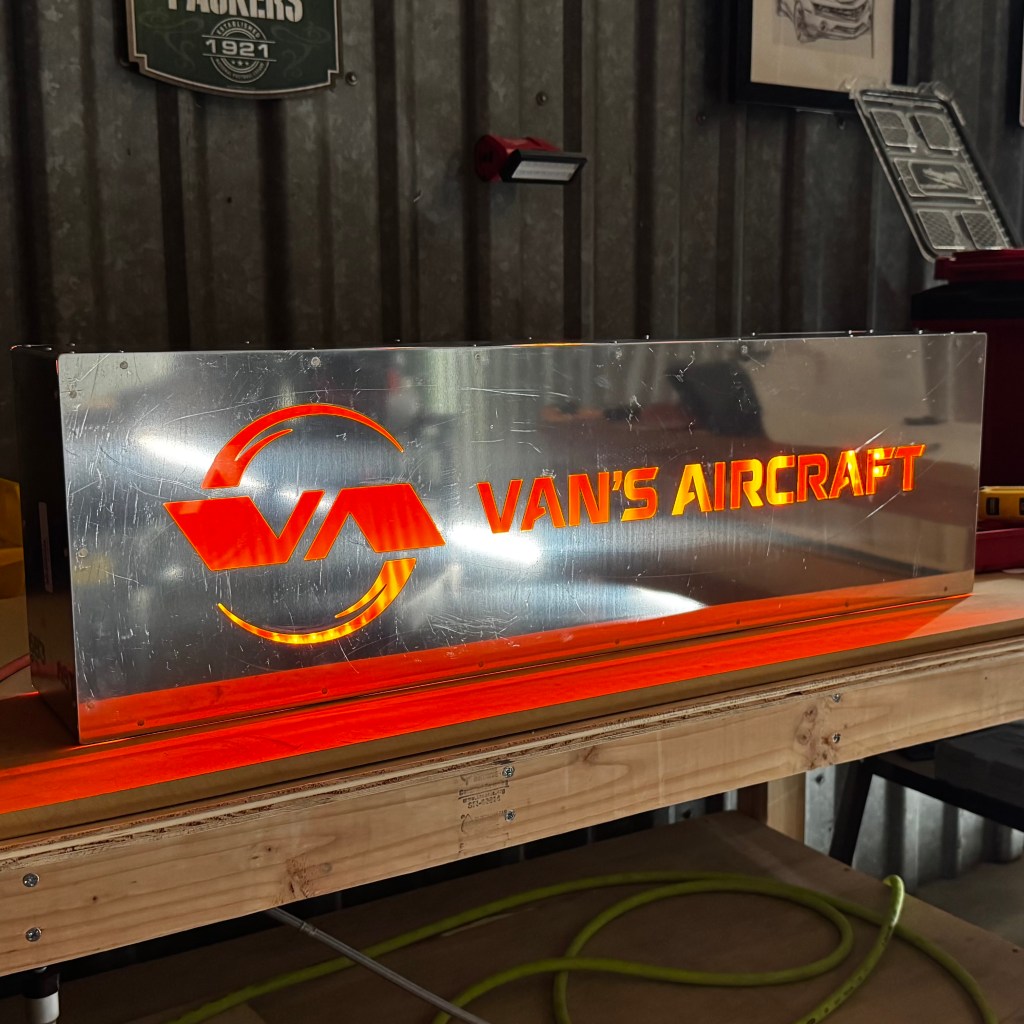
Van’s Light box sign
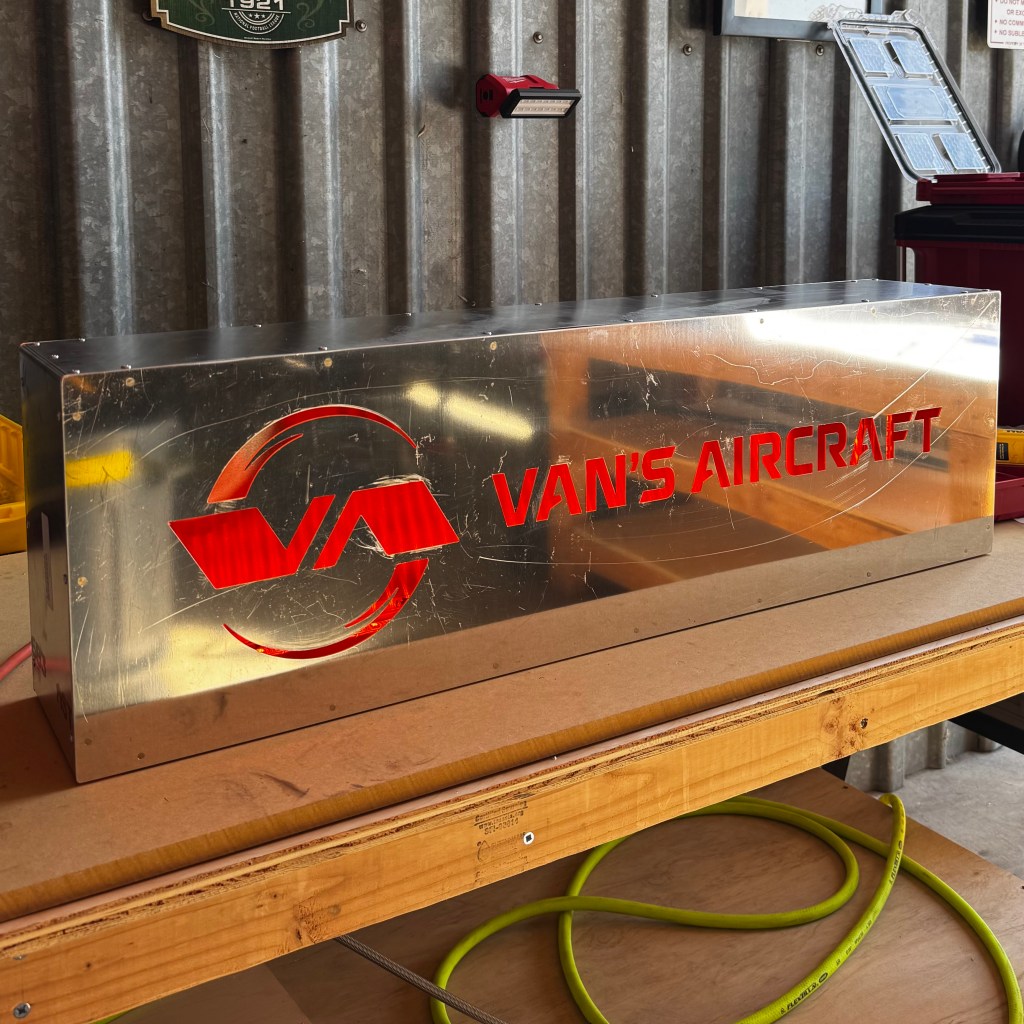
The final kit! This one is a similar difficulty to the toolbox – that is, fairly straightforward. The main learning experiences were 1) working with bigger parts than any preceding kits, 2) deburring all the sharp angles within the Van’s logo, and 3) installing the lighting itself and routing it out of the box.
Unfortunately, the face arrived a bit scratched up, but I decided that it doesn’t really matter and chose to just keep it. I also noticed that the aluminum assembly gets warm when the lights are on. Overall though, I think it looks pretty nice and I’m excited to display it.
Even more importantly, this was my final practice kit before moving on to the RV-10 build!
 adamrjansen.com
Leave a comment